Exploring UI Chat Orchestration with assistant-ui and Microsoft Agent Framework
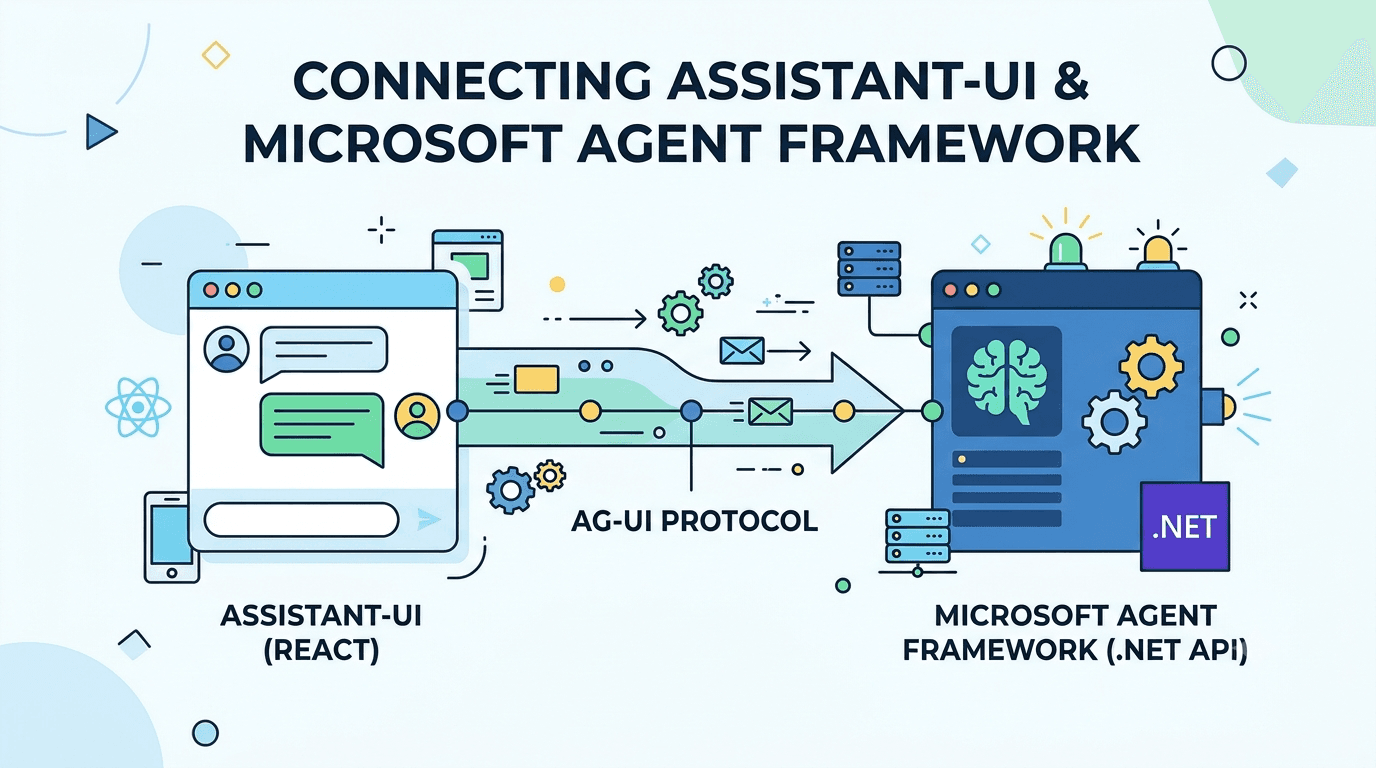
Connecting a React frontend to an AI agent framework often requires writing custom Server-Sent Events (SSE) adapters, manual message parsers, and custom protocol definitions. By combining assistant-ui on the frontend with the Microsoft Agent Framework on the backend using the AG-UI protocol, you eliminate custom transport logic entirely.
This guide demonstrates how to build a production-ready agent server using .NET, configure hosted models from OpenAI and Anthropic, and connect them to a React UI.
Why AG-UI
The AI ecosystem has converged on three complementary protocol standards:
- MCP (Model Context Protocol): Standardizes how agents connect to external tools and data sources.
- A2A (Agent-to-Agent): Standardizes communication between autonomous agents.
- AG-UI (Agent-to-UI): Standardizes event-driven streaming of responses, tool invocations, and state updates from an agent to a user interface.
AG-UI provides a runtime-agnostic interface. The frontend doesn't need to know whether the backend agent is running on Python, .NET, or Node.js - it simply consumes a standardized stream of events.
1. Scaffold the ASP.NET Core Backend
Create a new ASP.NET Core web application:
dotnet new web -n AgentServer
cd AgentServer
To use Microsoft Agent Framework and AG-UI components, create a nuget.config in your project root to enable prerelease packages:
<?xml version="1.0" encoding="utf-8"?>
<configuration>
  <packageSources>
    <add key="nuget.org" value="https://api.nuget.org/v3/index.json" />
  </packageSources>
</configuration>
Install the required NuGet packages:
dotnet add package Microsoft.Agents.AI.Hosting.AGUI.AspNetCore --prerelease
dotnet add package Microsoft.Agents.AI.OpenAI
dotnet add package Microsoft.Agents.AI
dotnet add package OpenAI
dotnet add package Anthropic
2. Configure Environment Settings
Store your API keys securely in appsettings.Development.json (or set them via environment variables):
{
  "Logging": {
    "LogLevel": {
      "Default": "Information",
      "Microsoft.AspNetCore": "Warning"
    }
  },
  "AllowedHosts": "*",
  "Provider": "Ollama",
  "OpenAI": {
    "ApiKey": "YOUR_OPENAI_API_KEY",
    "ModelId": "gpt-4o"
  },
  "Anthropic": {
    "ApiKey": "YOUR_ANTHROPIC_API_KEY",
    "ModelId": "claude-3-5-sonnet-20241022"
  },
  "Ollama": {
    "ApiKey": "YOUR_OLLAMA_API_KEY",
    "ModelId": "granite4.1:3b",
    "BaseUrl": "http://localhost:11434/v1"
  }
}
3. Build the Agent Server (Program.cs)
Microsoft.Extensions.AI provides the unified IChatClient interface. Whether you construct an agent using OpenAI or Anthropic, IChatClient allows the Microsoft Agent Framework to wrap the model in an AIAgent and expose it over AG-UI identically.
Here is the complete Program.cs implementation supporting both providers with CORS enabled for Next.js/React frontend clients:
using System.ClientModel;
using System.ComponentModel;
using Anthropic;
using Microsoft.Agents.AI;
using Microsoft.Agents.AI.Hosting.AGUI.AspNetCore;
using Microsoft.Extensions.AI;
using OpenAI;

var builder = WebApplication.CreateBuilder(args);

// 1. Configure CORS for frontend access
builder.Services.AddCors(options =>
{
    options.AddPolicy("AllowFrontend", policy =>
    {
        policy.WithOrigins("http://localhost:3000") // Next.js default dev port
              .AllowAnyHeader()
              .AllowAnyMethod()
              .AllowCredentials();
    });
});

// 2. Register AG-UI framework services
builder.Services.AddAGUIServer();

var app = builder.Build();
app.UseCors("AllowFrontend");

// 3. Instantiate IChatClient based on configuration
IChatClient chatClient = CreateChatClient(builder.Configuration);

// 4. Define Agent Tools via AIFunctionFactory
var getWeather = AIFunctionFactory.Create(
    ([Description("City to get current weather for")] string city) =>
        $"The current weather in {city} is 21°C and clear.",
    name: "get_weather",
    description: "Retrieves current weather conditions for a given city.");

// 5. Wrap IChatClient into an AIAgent instance
AIAgent agent = chatClient.AsAIAgent(
    name: "EnterpriseAssistant",
    instructions: "You are a helpful assistant. Use tools when necessary to answer queries accurately.",
    tools: [getWeather]
);

// 6. Map the agent to an AG-UI SSE endpoint
app.MapAGUIServer("/agent", agent);

app.Run();

// Factory helper for IChatClient initialization
static IChatClient CreateChatClient(IConfiguration configuration)
{
    string provider = configuration["Provider"] ?? "OpenAI";

    if (provider.Equals("Anthropic", StringComparison.OrdinalIgnoreCase))
    {
        string apiKey = configuration["Anthropic:ApiKey"]
            ?? throw new InvalidOperationException("Anthropic:ApiKey is missing.");
        string modelId = configuration["Anthropic:ModelId"] ?? "claude-3-5-sonnet-20241022";

        // Anthropic SDK IChatClient integration
        var client = new AnthropicClient()
        {
            ApiKey = apiKey
        };
        return client.AsIChatClient(modelId);
    }
    else if (provider.Equals("OpenAI", StringComparison.OrdinalIgnoreCase))
    {
        string apiKey = configuration["OpenAI:ApiKey"]
            ?? throw new InvalidOperationException("OpenAI:ApiKey is missing.");
        string modelId = configuration["OpenAI:ModelId"] ?? "gpt-4o";

        // OpenAI SDK IChatClient integration
        return new OpenAIClient(apiKey)
            .GetChatClient(modelId)
            .AsIChatClient();
    }
    else if (provider.Equals("Ollama", StringComparison.OrdinalIgnoreCase))
    {
        string apiKey = configuration["Ollama:ApiKey"]
            ?? throw new InvalidOperationException("Ollama:ApiKey is missing.");
        string modelId = configuration["Ollama:ModelId"] ?? "granite4.1:3b";
        string baseUrl = configuration["Ollama:BaseUrl"] ?? "http://localhost:11434/v1";

        return new OpenAIClient(
                new ApiKeyCredential("dummy-key"),
                new OpenAIClientOptions { Endpoint = new Uri(baseUrl) }
            )
            .GetChatClient(modelId)
            .AsIChatClient();
    }
    else
    {
        throw new InvalidOperationException($"Unsupported provider: {provider}");
    }
}
Run the backend server on port 8000:
dotnet run --urls http://localhost:8000
Note
The Microsoft Agent Framework is not specific to C# as a NuGet package only. Packages exist for both Python and Go (currently in preview at time of writing).
4. Scaffold the Frontend Project
In a seperate directory, create your assistant-ui React app:
npx assistant-ui@latest create
This will take you through a wizard where you can configure the chat UI to your needs. The configuration here does not affect our implementation below.
In the scaffolded application, install the AG-UI bridge adapter, and the core @ag-ui/client library:
npm install @assistant-ui/react-ag-ui @ag-ui/client
5. Implement the React Frontend
Create an AssistantProvider component that initializes an HttpAgent targeting the .NET backend endpoint and wraps it in the useAgUiRuntime hook.
components/AssistantProvider.tsx
"use client";

import { useMemo, ReactNode } from "react";
import { AssistantRuntimeProvider } from "@assistant-ui/react";
import { useAgUiRuntime } from "@assistant-ui/react-ag-ui";
import { HttpAgent } from "@ag-ui/client";

interface AssistantProviderProps {
  children: ReactNode;
}

export function AssistantProvider({ children }: AssistantProviderProps) {
  // Initialize the HTTP AG-UI Client targeting our .NET server
  const agent = useMemo(
    () =>
      new HttpAgent({
        url: process.env.NEXT_PUBLIC_AGUI_URL || "http://localhost:8000/agent",
      }),
    [],
  );

  // Hook into assistant-ui's runtime adapter for AG-UI
  const runtime = useAgUiRuntime({ agent });

  return (
    <AssistantRuntimeProvider runtime={runtime}>
      {children}
    </AssistantRuntimeProvider>
  );
}
app/assistant.tsx
Modify the scaffolded assistant.tsx component by wrapping <Thread /> with your new custom provider wrapper:
"use client";

import { Thread } from "@/components/assistant-ui/thread";
import { AssistantProvider } from "@/components/AssistantProvider";

export const Assistant = () => {
  return (
    <div className="h-dvh">
      <AssistantProvider>
        <Thread />
      </AssistantProvider>
    </div>
  );
};
Run your frontend and navigate to http://localhost:3000 in your browser:
npm run dev
When a user submits a prompt, the following execution loop occurs automatically:
assistant-uisends the user message to the AG-UI runtime.@ag-ui/clientopens an SSE stream tohttp://localhost:8000/agent.- ASP.NET Core processes the query through
AIAgentusing OpenAI (or whatever LLM provider you configured). - If a tool call (
get_weather) is triggered, tool execution state streams back over AG-UI to update the UI indicators in real time before generating the final text response.
Warning
No dynamic agent resolution
In Microsoft.Agents.AI.Hosting.AGUI.AspNetCore (version 1.17.0-preview.260804.1), app.MapAGUI("/endpoint", agent) registers a single, globally scoped AIAgent instance at startup.
If your application requires dynamic agent resolution (e.g., selecting distinct agents per tenant, user, or resolving agents from some persisted metadata through dynamic routes like /agents/{agentId}), you must currently bypass MapAGUI and implement custom HTTP middleware or endpoint routing to resolve and execute the agent instance per request. Track upstream issue #2988 for progress on factory-based route mapping overloads.
Worth knowing if you need to architecture around it.
Tip
The full repository for this blog post can be found here.
Sources
Frameworks & Runtime Environments
- .NET / ASP.NET Core: Web framework hosting the backend AG-UI server endpoint (dotnet.microsoft.com).
- Microsoft Agent Framework: Agent orchestration and execution framework for .NET (github.com/microsoft/agent-framework).
- React / Next.js: Frontend UI library and application framework (react.dev | nextjs.org).
NuGet Packages (.NET Backend)
Microsoft.Agents.AI.Hosting.AGUI.AspNetCore: Middleware for routing AG-UI SSE streams in ASP.NET Core (nuget.org/packages/Microsoft.Agents.AI.Hosting.AGUI.AspNetCore).Microsoft.Agents.AI.OpenAI: OpenAI provider integration for Microsoft Agent Framework (nuget.org/packages/Microsoft.Agents.AI.OpenAI).Microsoft.Extensions.AI: Core unified abstractions (IChatClient,AIFunctionFactory) across AI providers (nuget.org/packages/Microsoft.Extensions.AI).Anthropic: C# SDK for Anthropic Claude models with nativeIChatClientsupport (nuget.org/packages/Anthropic).OpenAI: Official OpenAI C# client SDK (nuget.org/packages/OpenAI).
NPM Packages (React Frontend)
@assistant-ui/react: React component library and primitive runtime for AI chat interfaces (npmjs.com/package/@assistant-ui/react).@assistant-ui/react-ag-ui: Bridge library mapping AG-UI protocol streams intoassistant-uiruntime hooks (npmjs.com/package/@assistant-ui/react-ag-ui).@ag-ui/client: Transport-level client library for AG-UI event handling (npmjs.com/package/@ag-ui/client).
Protocols & API Specifications
- AG-UI Protocol: Event-driven Agent-to-UI communication standard (assistant-ui Documentation).
- Model Context Protocol (MCP): Open protocol standard for agent tool and data integration.
- Anthropic API: Documentation for Claude 3.5 Sonnet and tool calling specs (docs.anthropic.com).
- OpenAI API: Documentation for GPT-4o chat completions and function calling (platform.openai.com).
Issues & Tracking
- Microsoft Agent Framework Issue #2988: Feature request for dynamic per-request
AIAgentfactory resolution inMapAGUI(github.com/microsoft/agent-framework/issues/2988).